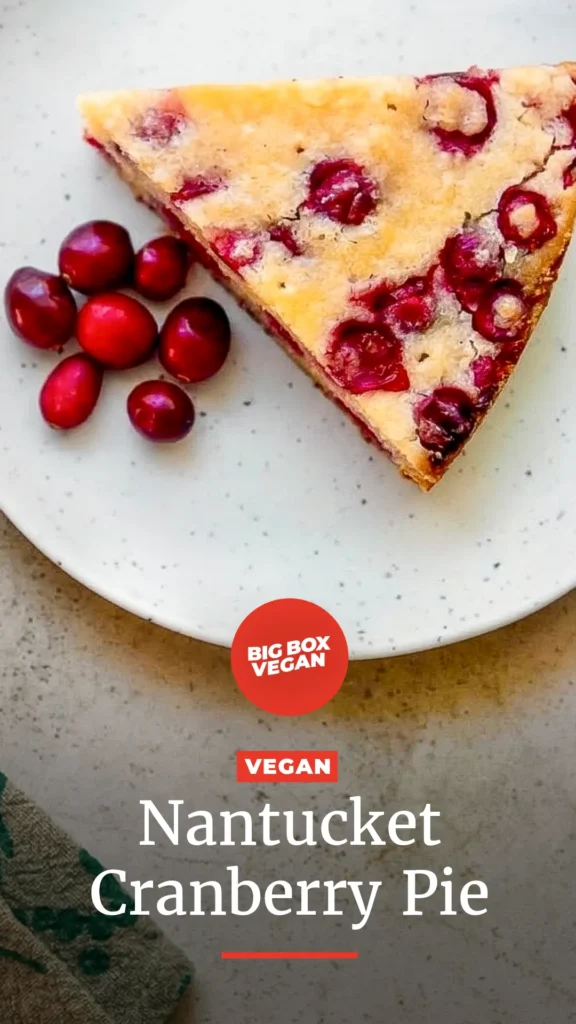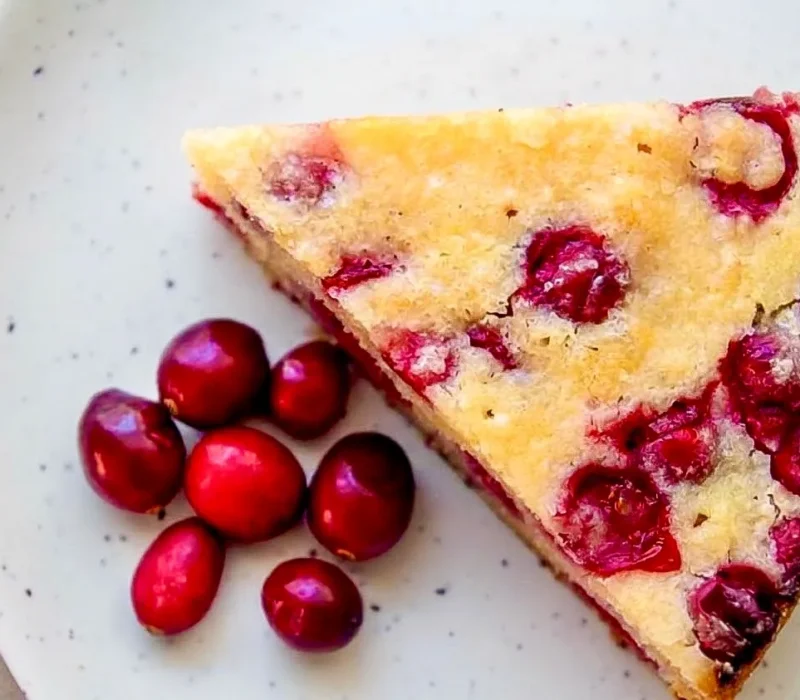
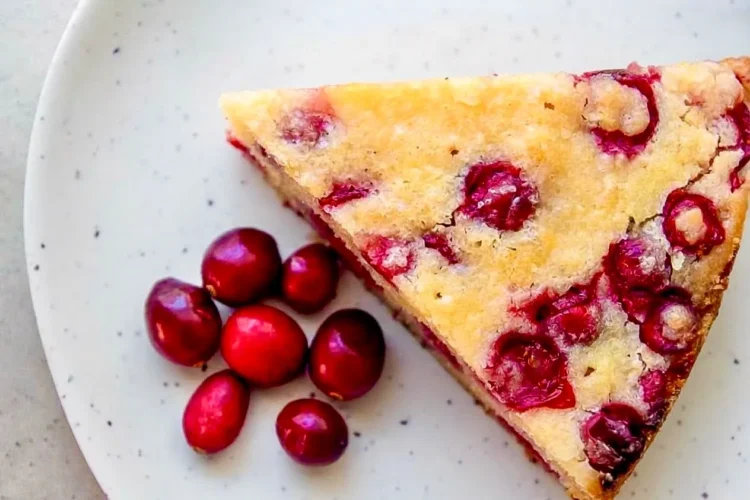
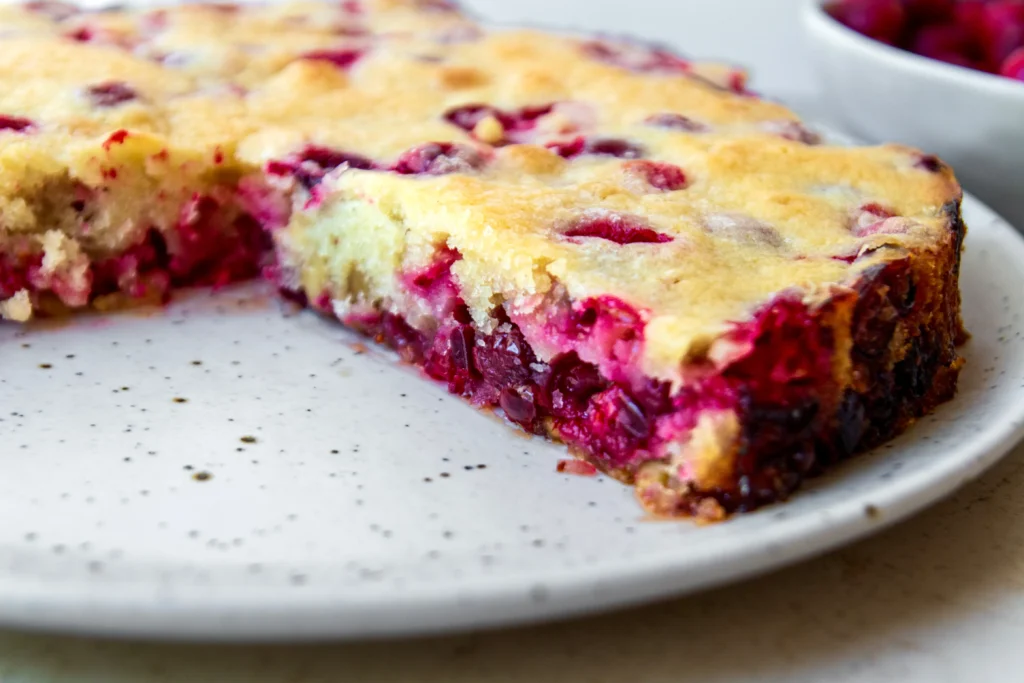
I have to admit, I wasn’t too familiar with Nantucket Cranberry Pie and although I recall seeing it in years past I honestly had forgotten about it until recently. It piqued my interest as it was described more as an upside down cake and once I started testing and tried it, I immediately understood the appeal. It’s buttery, sweet, a little tart, and packed with fresh cranberries and walnuts. And despite being called a pie, it is really more like an upside-down cranberry cake with a tender topping but has a slight cookie-like chew unlike other upside down cakes. I found it to be absolutely delicious and although I can’t compare it to the original recipe, I feel mine ticks all the right boxes from my research.
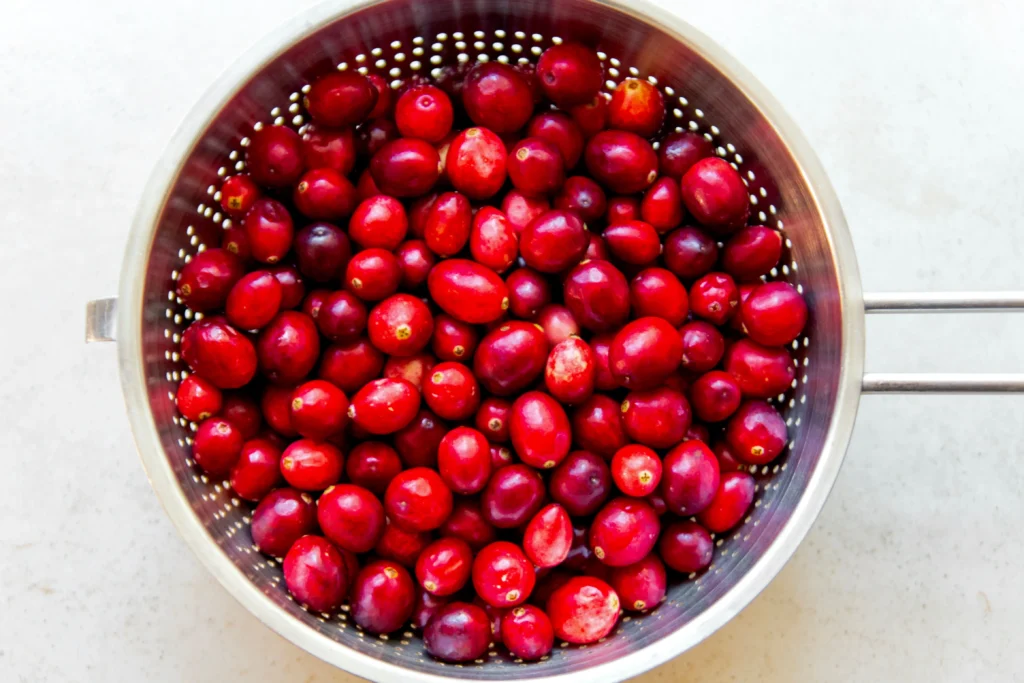
The original recipe is wonderfully simple, with a layer of fresh cranberries, walnuts, and sugar covered with a buttery batter. No pie crust, no complicated preparation, and no special equipment beyond a springform baking pan and some prep so it doesn’t stick. I experimented with different egg replacers but ultimately found that vegan milk and a little cornstarch was all that was needed as it does contain a fair bit of butter which is true to the original recipe. It was worth it and I’m happy to say my vegan version is a winner.
What Is Nantucket Cranberry Pie?
Despite its name, Nantucket Cranberry Pie isn’t an old-fashioned colonial recipe with roots in Nantucket. Its history is a little more recent and, honestly, pretty interesting.
The recipe is credited to Jean Jahnke, who worked as a home economist for the National Cranberry Association in the 1950s. She and her boss developed it for people who loved cranberry pie but didn’t want to fuss with making a traditional pie crust. The result was a simple dessert made by layering cranberries and sugar in a pan and covering them with a buttery, cake-like batter.
The recipe became better known after food writer Laurie Colwin published it in the November 1993 issue of Gourmet magazine. Colwin had received the recipe from a friend’s mother and was curious about its origins. She even went looking for an older New England connection, only to learn that it was a much newer creation. It doesn’t fit neatly into the pie or cake category, there’s no fussy pastry crust, and the batter bakes over the cranberry layer, creating something that is a little bit of both. It also has a lovely almond flavor which goes so well with the cranberries but a bit of added orange zest would be a welcome addition too although it’s not part of the original recipe.
Why You’ll Love This Recipe
- No pie crust required. This is one of those desserts that looks impressive without requiring much work. There’s no rolling, chilling, crimping, or blind baking. You simply prepare the cranberry mixture, make the batter, and spread it over the top.
- That cranberry and walnut combination is fantastic. Fresh cranberries become soft and jammy as they bake, while the walnuts add a little crunch. The sugar balances the tartness of the fruit without making the whole dessert overly sweet.
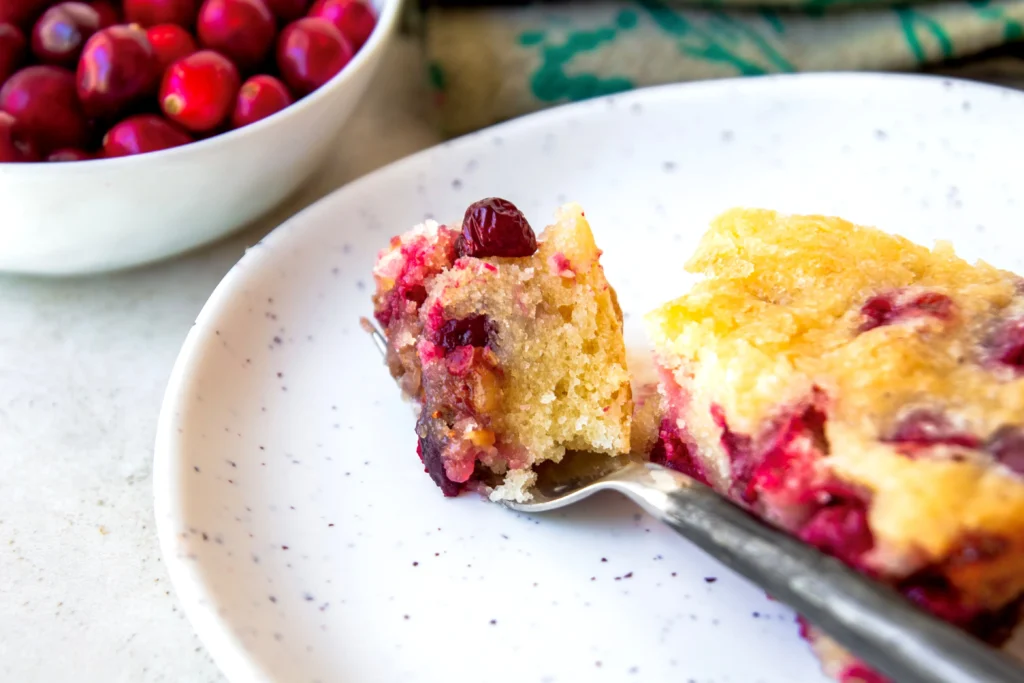
- The texture is a little different from cake. Think of this as an upside-down cranberry cake with a buttery, tender topping and just a hint of cookie-like chew. It’s not fluffy like a traditional layer cake, and that’s exactly what makes it so good.
- It’s a beautiful holiday dessert. The ruby-red cranberry layer makes a gorgeous presentation, especially when you turn the pie out of the pan. It’s a natural fit for Thanksgiving and Christmas, but there’s no reason to save it for the holidays.
The Best Pan to Use
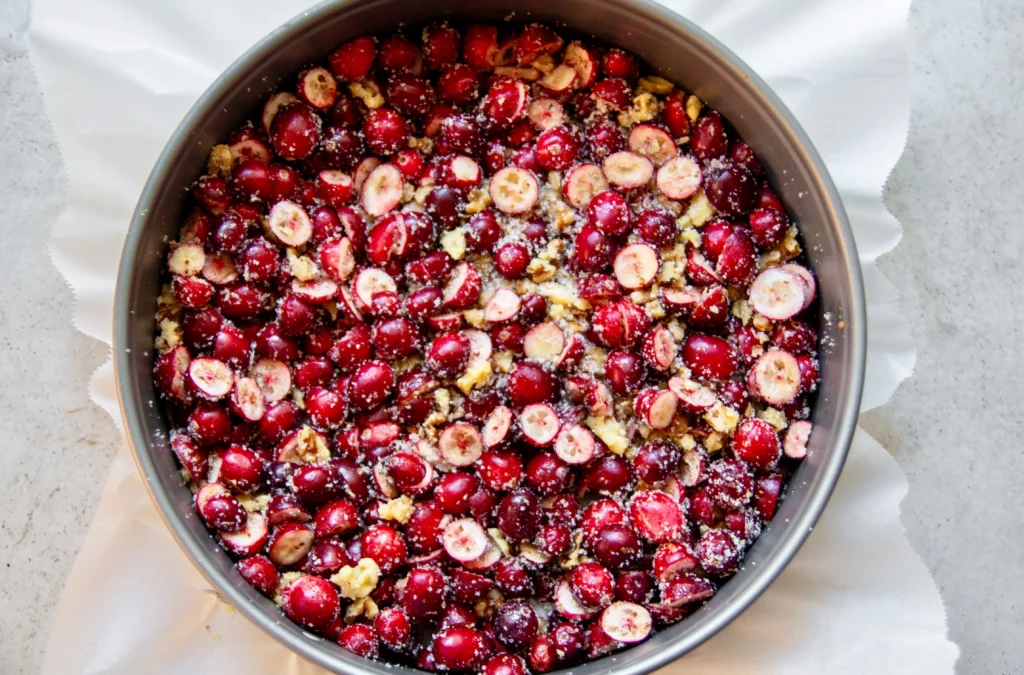
Although traditionally made in a pie dish, I strongly recommend using a 10-inch springform pan for this recipe. I originally tried making it in a regular pie dish, and while the dessert itself was delicious, getting it out of the pan was another story. The cranberry and sugar mixture gets sticky as it bakes, and the bottom can really cling to a traditional pie dish.
A springform pan makes the whole process much easier, especially if you want to turn the pie out and show off that beautiful cranberry layer. Lining the bottom is easy as you just need a square of parchment larger than the bottom and interlocking snap system of springform pans keeps it in place. To line the sides, cut strips of parchment, spray the pan sides first so it will stick and then place them. This will prevent not only sticking on release but cleanup later.
Tips for the Best Results
- Use a springform pan. This is my biggest recommendation. The cranberry mixture can stick stubbornly to a regular pie dish, making it difficult to serve clean slices.
- Don’t skip the parchment. Lining the bottom and sides of the springform pan makes releasing and turning out the pie much easier.
- Chop the cranberries. Roughly chopping them helps the fruit soften and break down as it bakes. They don’t need to be chopped into tiny pieces.
- Don’t overmix the batter. Mix just until the flour is incorporated. You want a thick batter that spreads over the cranberries, not a heavily worked batter.
- Let it cool before slicing. The cranberry layer needs a little time to settle, and the topping will be easier to cut once the pie has cooled.
Frequently Asked Questions
Yes. Frozen cranberries should work although I’ve not tested it. There’s no need to thaw them first. Chop them while they’re still firm, then use them as you would fresh cranberries.
Absolutely. Pecans are a nice alternative and would be delicious with the cranberries. Keep the quantity the same.
Please consider it! I think one teaspoon of finely grated orange zest is a wonderful addition. Add it to the batter for a little citrus fragrance and flavor. It’s optional, but cranberry and orange are a particularly good pairing.
You can bake it in a regular pie dish, but I don’t recommend it if you plan to turn the dessert out of the pan. The cranberry and sugar layer can stick quite firmly to the bottom. A parchment-lined springform pan is much easier to work with and makes serving less of a challenge.
The topping should be golden and set in the center. Insert a toothpick or cake tester into just the topping, avoiding the cranberry layer. It should come out without wet batter. The fruit underneath will remain soft and jammy, which is exactly what you want.
Although I’ve not tested it, a 1:1 gluten free baking mix should work here.
Cover and refrigerate leftover pie once it has cooled. It should keep well for about three to four days. Let slices come closer to room temperature before serving, or warm them briefly if you prefer.
Yes, you can bake it a day ahead, let it cool completely, and refrigerate it covered. The texture will firm up as it chills. I like letting slices sit out for a little while before serving so the buttery topping isn’t too cold.
A New Holiday Favorite?
I went into this recipe not really knowing what to expect as I’d never made Nantucket Cranberry Pie before, but one bite was all it took. The tart cranberries, buttery topping, and walnuts are such a wonderful combination, and the texture is unlike your usual cake or pie. I’m especially happy with how this vegan version turned out. It’s easy to make, looks beautiful on a holiday table, and is the kind of dessert that makes you wonder why you hadn’t discovered it sooner. I have a feeling this one is going to become a regular in my (and hopefully yours!) holiday baking rotation.
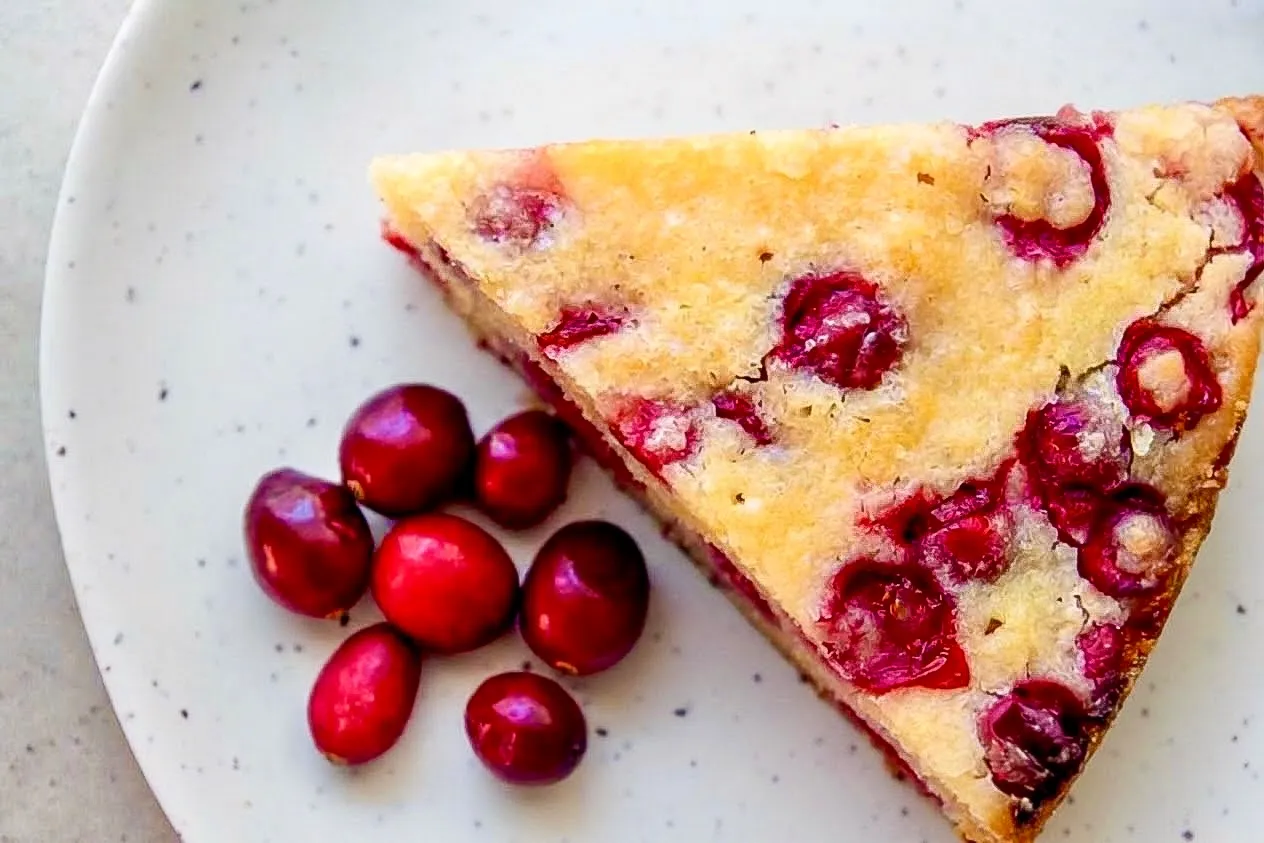
Vegan Nantucket Cranberry Pie
8
servings15
minutes45
minutes1
hourThis easy vegan Nantucket Cranberry Pie has a jammy cranberry-walnut layer beneath a buttery, slightly chewy cake-like topping, making it a beautiful and delicious holiday dessert.
Keep the screen of your device on
Ingredients
- Cranberry Layer
2 cups 200 g fresh cranberries, roughly chopped
1/2 cup 60 g walnuts, chopped
1/2 cup 100 g granulated sugar
- Batter
3/4 cup 150 g granulated sugar
1 cup 125 g all purpose-flour
1 tablespoon 1 tablespoon cornstarch (see notes)
1/2 teaspoon 1/2 teaspoon baking powder
1/2 cup 120 ml plain vegan milk
1 teaspoon 1 teaspoon lemon juice or vinegar
3/4 cup 170 g vegan butter, melted
1 teaspoon 1 teaspoon almond extract
1 teaspoon 1 teaspoon finely grated orange zest, optional
1 tablespoon 1 additional tablespoon granulated sugar to sprinkle on top
Directions
- Preheat oven to 350°. Using a 10″ springform pan with a removeable bottom, take a piece of parchment paper wider than the bottom and place it there (no need to trim) and place the springform ring onto the bottom and snap it closed to secure it. Use strips of parchment paper slightly taller than the sides and spray the side with some vegetable spray then attach the strips to the side covering the inside ring completely.
- Add the chopped cranberries, walnuts and sugar to the bottom of the pan and mix with a spoon or clean hands to combine (you can certainly do this in a bowl first). Set aside while you make the batter.
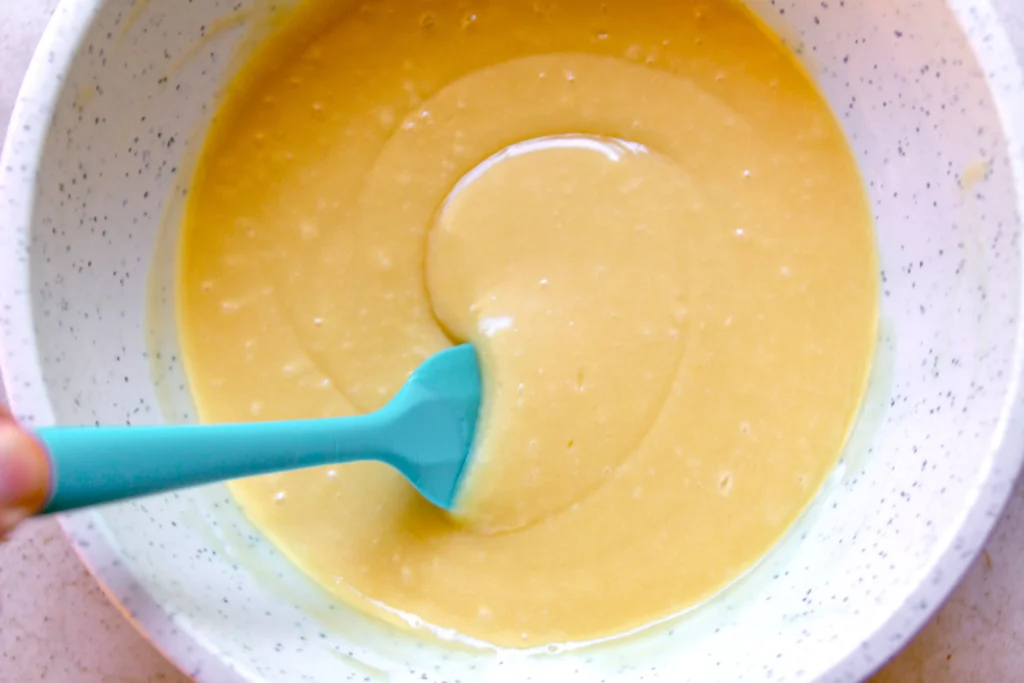
- Combine the batter’s dry ingredients in a medium sized mixing bowl with a whisk to break up and large lumps. Add the lemon juice or vinegar to the vegan milk, stir to combine and let it slightly curdle for a minute or two. Add the remaining wet ingredients to the dry mixture and gently combine until just mixed together with no streaks of flour left. Don’t over-mix!
- Pour the batter over the cranberry mixture and using a rubber spatula or spoon, spread it to the edges to cover the cranberry mixture as best you can. If some poke out, that’s fine. Sprinkle on the remaining tablespoon of sugar and place in the oven and bake anywhere from 40-45 minutes. Test sooner than later by using a cake tester or toothpick just on the cake layer and it should come out clean.
- Let the cake cool for 15 minutes then release the sides on the springform pan and remove the parchment side pieces. Let it cool for another 15 minutes then you can serve immediately or turn it over onto a plate if you prefer the cranberry layer to show like an upside down cake. I didn’t feel it was necessary, but it will make it easier to slice as the bottom won’t stick if transferred to a nicer plate or cake stand. I cut directly on the parchment lined bottom pan circle to serve so that’s an option as well.
- Refrigerate or freeze any leftovers. Leftover slices can be warmed in a microwave or oven if desired.
Notes
- You can use arrowroot powder or potato starch instead of cornstarch if allergic or prefer another option.
- I prefer to use stick style vegan butter but you can use the kind from a tub as you’re melting it.
- Orange zest is optional but it’s a nice addition in my opinion.
Did you make this?
Tag @bigboxveganeats on Instagram and hashtag it #bigboxvegan
Pin this recipe!
Follow @bigboxvegan on Pinterest
Like Big Box Vegan on Facebook!
Follow us on Facebook